--
Chapter one: installing
Installing LX OS is much simpler than you may think.
You will require...
>>> A computer with a pentium 4 CPU, 2012 iGPU or older dedicated GPU or later
>>> A a flash drive with at least 16 GB of storage (more if you plan to have a portable install)
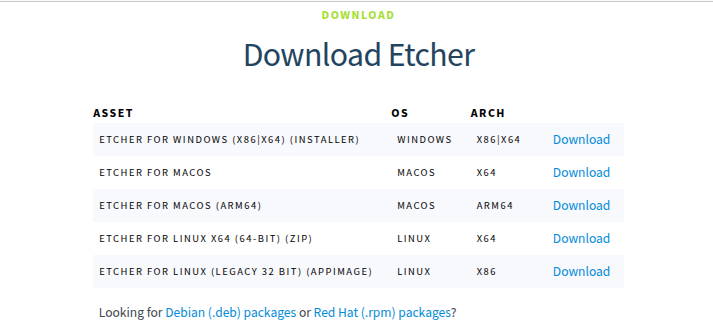
>>> An ISO flashing tool, such as Belena Etcher -
>>> A computer with a pentium 4 CPU, 2012 iGPU or older dedicated GPU or later with support for BIOS (not EFI-only)
>>> LX OS 2 or 3
-
-
Note: LX OS 1.0 cannot install.
Step 1: Flashing
1st, download belena etcher, then the ISO file.
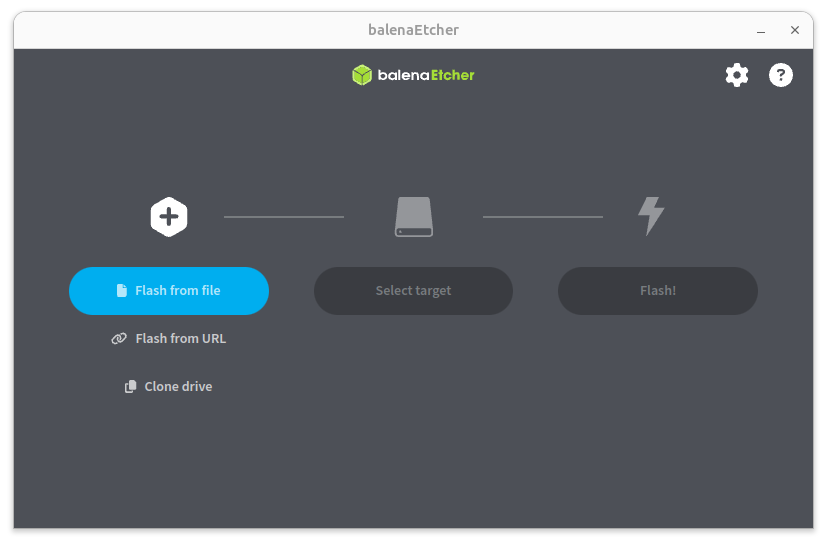
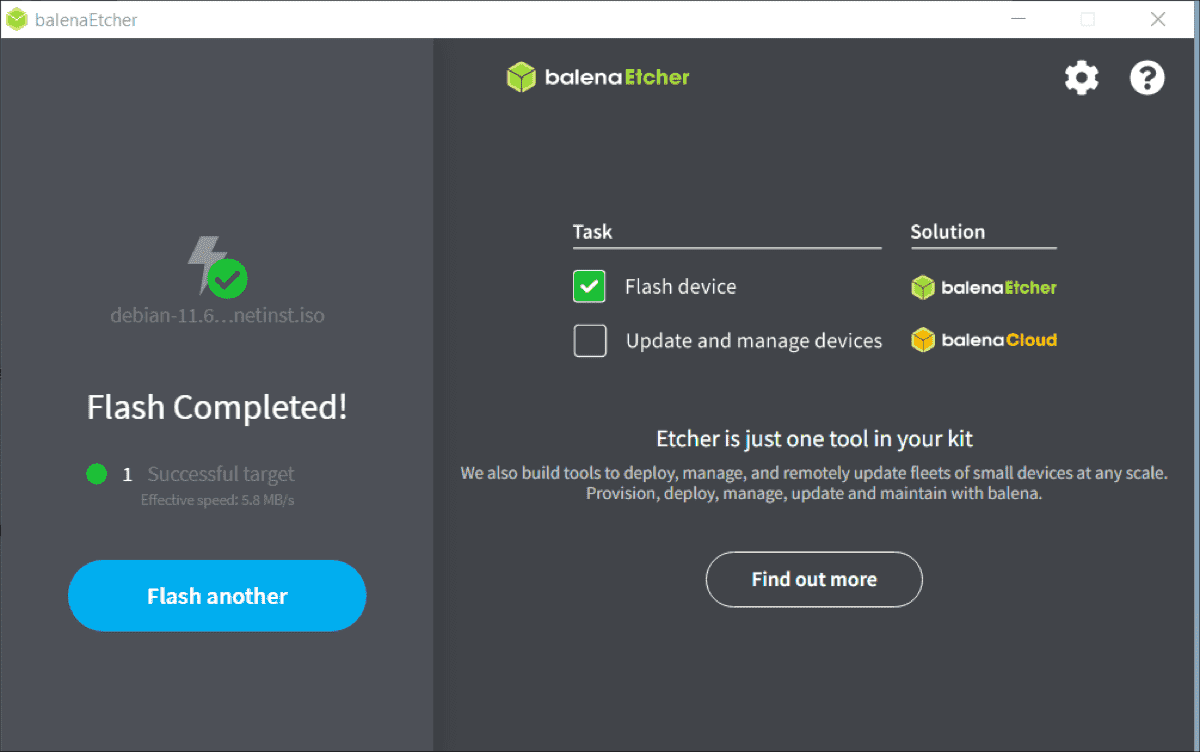
Once it completes, install belena etcher, open it and press "Flash from file", and select the LX OS ISO you just downloaded.
Keep the flash drive plugged in after it's finished.
Reboot your computer. The specific way may be different on some models, but pressing F10 , F11 or F12 at startup will allow you to select the flash drive (LX OS) as your boot device.
Once you are in, it may ask you for a password. The password (for LX OS 2) is "513720LX", while the one for 3.0 and up is "LX", after that, open a terminal and type
sudo remastersys install
Note: Please back up your data; this will erase it.
The installer will now ask you some questions, when it's time to select a partition, be sure to select MBR, and to have all data on the root partition. EXT4 is the best filesystem option, too.
Once you've comepleted all the questions, let LX OS take 15-60 minutes working its magic, depending on the speed of your PC.
When it asks you to reboot, do so.
Congrats, you have LX OS installed on your system!
I cannot wait to se the amazing things you can do with it.
If you installed LX OS 3 (reccomended), proceed to the next page to learn more :}